This page will show you an easy to follow tutorial for how to draw a bunny rabbit, and you can save the image as free clipart too. I’ve created this tutorial with easy to follow step by step instructions of each part leading up to the final drawing. After you view the page, you can also print out the instructions, save them to your computer as a reference to follow along with later. You can then save or download the image of the drawing as free clip art for personal or commercial usage as a PNG. And finally the outline is also available as a printable coloring page. This drawing guide is simple enough for kids or adults. You can use your bunny drawing for Easter decorations, share it online or just for fun.
FREE BUNNY CLIPART
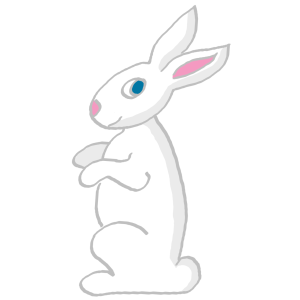
Click the picture to open at full size and save file as .PNG transparent
How to Draw Bunny Rabbit
Start: Step One
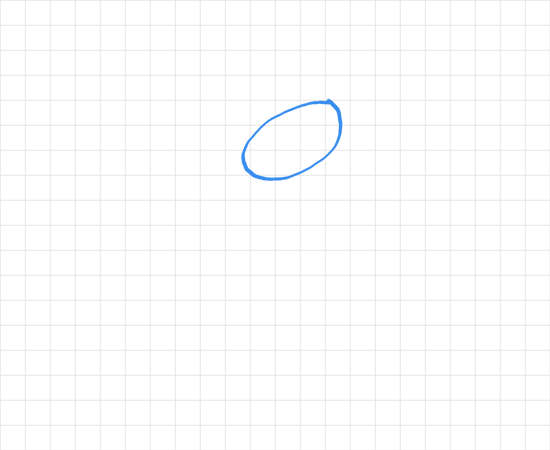
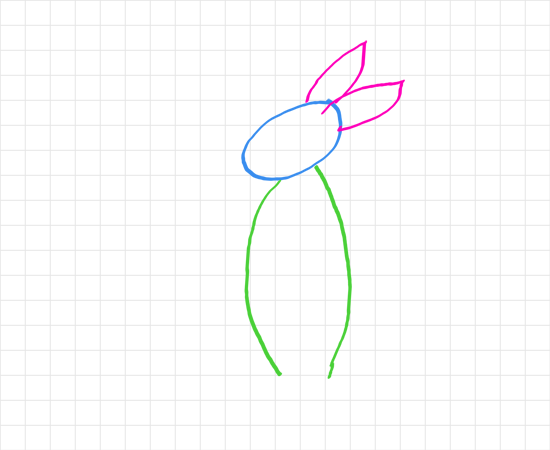
Draw the head
To start your drawing, make an oval to represent the head of your rabbit. I’m using a marker brush with a funny tip. Don’t worry if it doesn’t look quite the same.
Next: Step Two
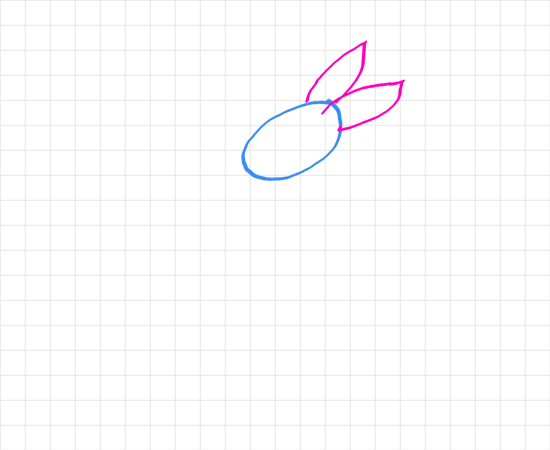
Draw the ears
Next draw two shapes similar to a flower petal on the right side of the oval as the ears of the bunny rabbit. You will remove some of the reference lines overlapping areas at the end of the process. These are shown as reference.
Continue to Step Three
The body
The lines shown in green represent the body of the creature. Keep them within the width of the head.
You’ve made it to Step Four
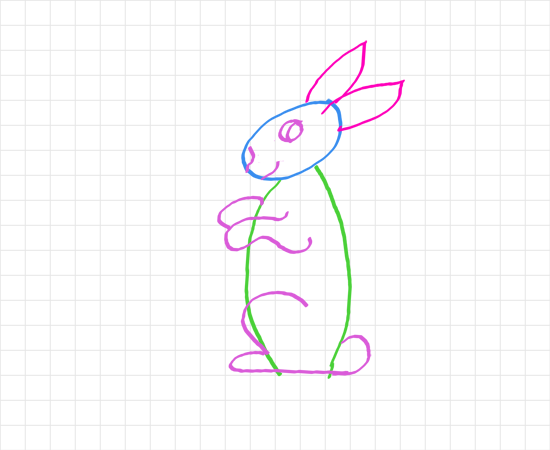
Add the limbs and details
Complete your Easter bunny drawing by adding a face – eyes, nose and mouth. And add curved lines for the arms. Remember one arm is behind the body so you only see part of it. The leg can be formed with a backwards 3 shape and a rounded shape for the tail. The leg and tail form the base of the drawing.
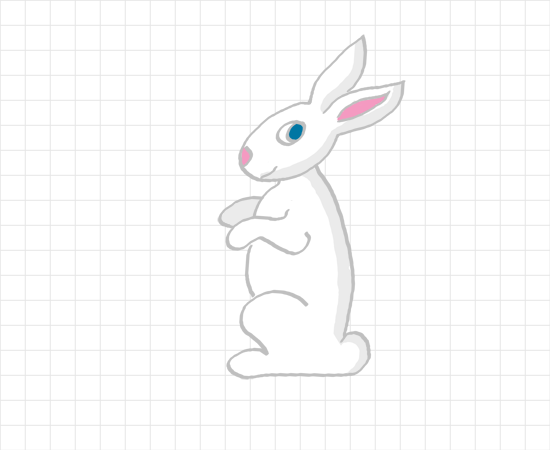
This is how the drawing will look completed. You can erase the lines that overlap such as on the left side of the body and where the head and ears intersect. Color in your drawing with whatever colors you desire.

